Reparar el revestimiento dañado
Reparación de daños Revestimiento conforme es una tarea habitual en Montaje de PCB y Montaje SMT, especialmente cuando se producen defectos, daños por manipulación o reparación de componentes. Un proceso de reparación adecuado restablece la protección sin afectar al rendimiento del circuito.
Identificar el tipo de daño
Antes de la reparación, determine el problema:
- Arañazos o zonas de revestimiento fino
- Grietas o descamación
- Burbujas o vacíos
- Contaminación bajo el revestimiento
- Manchas quemadas o dañadas químicamente
Comprender el defecto ayuda a elegir el método de reparación correcto en Montaje de PCB llave en mano.
Seleccione el método de reparación adecuado
Los distintos revestimientos requieren enfoques diferentes:
- Revestimientos acrílicos → fácil de disolver y reelaborar
- Recubrimientos de silicona → flexible pero más difícil de quitar
- Recubrimientos de uretano → resistencia química, dificultad moderada
- Revestimientos epoxídicos → muy resistente, difícil de reparar
Elegir el método correcto evita daños adicionales en la placa de circuito impreso.
Eliminar el revestimiento dañado
Utilice técnicas de eliminación adecuadas:
- Eliminación de disolventes para revestimientos acrílicos
- Eliminación mecánica (raspado, microabrasión) para zonas localizadas
- Decapado químico para revestimientos más resistentes
- Calor controlado para ablandar ciertos materiales
En Montaje de PCB, El desmontaje debe limitarse a la zona dañada para proteger los componentes circundantes.
Limpiar bien la superficie
Después de quitarlo:
- Utilizar disolventes de limpieza autorizados
- Eliminar residuos, polvo y contaminantes
- Asegúrese de que la zona esté completamente seca
Una limpieza adecuada es esencial para una buena adherencia al volver a aplicar Revestimiento conforme.
Repare la placa de circuito impreso si es necesario
Si el daño ha afectado al circuito:
- Sustituir o volver a soldar componentes
- Reparación de trazas o almohadillas
- Realizar comprobaciones eléctricas
Este paso garantiza que la placa funcione a pleno rendimiento antes de recubrirla en Montaje SMT.
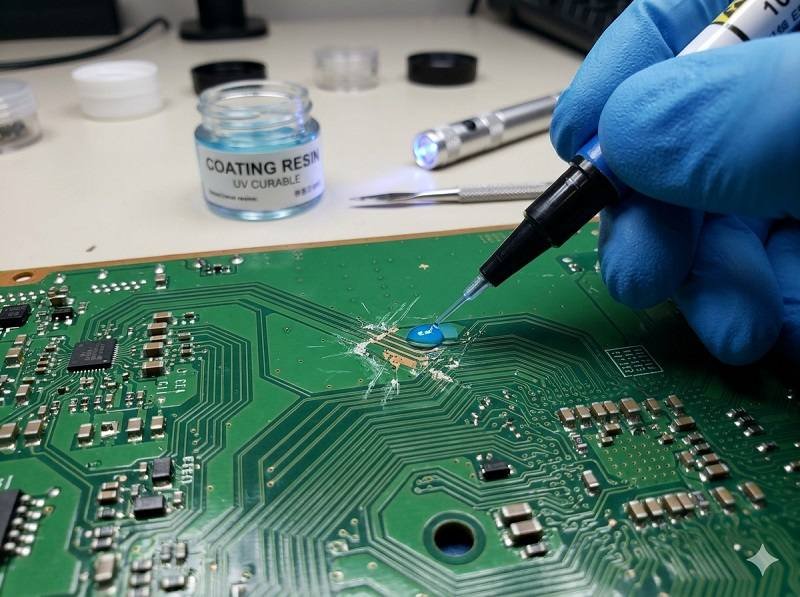
Reaplicar el revestimiento de conformación
Aplique un nuevo revestimiento en la zona reparada:
- Utilizar métodos de recubrimiento con brocha, pulverización o selectivos
- Igualar el tipo de revestimiento original siempre que sea posible
- Mantiene un grosor uniforme y una cobertura lisa
Evite recubrir conectores, puntos de prueba y otras zonas sin recubrimiento en Montaje de PCB llave en mano.
Curar el revestimiento
El curado depende del material:
- Secado al aire (acrílico)
- Curado por calor (uretano, epoxi)
- Curado por UV (revestimientos curables por UV)
Siga las condiciones de curado adecuadas para garantizar la durabilidad.
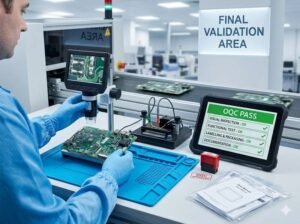
Inspeccionar la zona reparada
Después del curado:
- Utilice la inspección UV para comprobar la cobertura
- Verificar que no haya burbujas, huecos o contaminación
- Confirmar la adherencia y el grosor adecuados
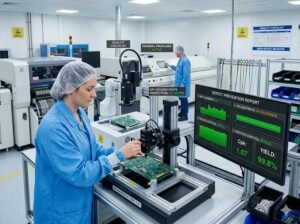
La inspección garantiza que la reparación cumple Montaje de PCB normas de calidad.
Buenas prácticas para la reparación de revestimientos
- Siempre que sea posible, utilice revestimientos que permitan una fácil reelaboración.
- Minimizar el área de reparación para evitar retiradas innecesarias
- Seguir procedimientos estrictos de limpieza y manipulación
- Formar a los técnicos para que realicen reparaciones precisas
Conclusión
Reparación de daños Revestimiento conforme implica una cuidadosa retirada, limpieza, reparación y reaplicación. En Montaje de PCB, Montaje SMT, y Montaje de PCB llave en mano, Un proceso de reparación bien controlado restablece la protección, mantiene la fiabilidad y prolonga la vida útil de los productos electrónicos.
Obtenga un presupuesto de revestimiento de conformación
¿Quiere mejorar la fiabilidad de sus placas de circuito impreso con el revestimiento de conformación? Envíenos sus datos ahora.
Envíenos sus requisitos y obtenga una respuesta rápida de nuestro equipo de ingenieros.
✔ Respuesta en 24 horas ✔ Soporte de ingeniería ✔ Producción en serie y a pequeña escala
Shenzhen Tengxinjie Electronics Co.